クライアント・ライブラリの使用
はじめに
さていよいよ本命のクライアントライブラリの使用です。参考にするのはこちら。
https://cloud.google.com/vision/docs/quickstart-client-libraries
(念のための注意) 上記サイトでは日本語で表示すると500エラーになって表示出来ませんでした。レポートはしておきましたので、これを読まれている時には直っているかも知れませんが念のため。
本題に入る前に少し振り返ってみますと、以下のような流れで、#1,#2と実施してきました。
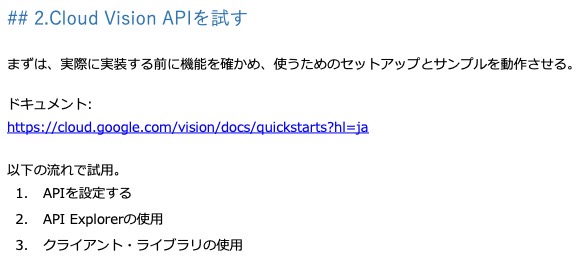
本稿は#3に当たるわけですが、『APIを設定する』は『API Explorerの使用』と本稿のどちらの前提でもありますので、本稿だけを実施したい場合でも、『APIを設定する』は必須になります。
プロジェクトの作成と権限設定
APIを設定するを実施済みの状態からになります。
APIを設定するでダウンロードしたcloudvisionapi-test-21293fsea9f8.json(ファイル名はそれぞれで違うと思います)の中身を見てください。
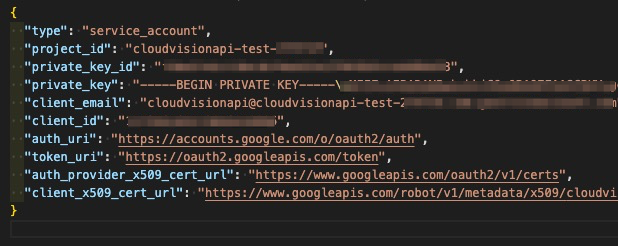
このファイルのパスを環境変数GOOGLE_APPLICATION_CREDENTIALSにセットします。
Linux or macOSの場合
export GOOGLE_APPLICATION_CREDENTIALS="[PATH]"
WindowsでPowerShellの場合
$env:GOOGLE_APPLICATION_CREDENTIALS="[PATH]"
Windowsでコマンドプロンプトの場合
set GOOGLE_APPLICATION_CREDENTIALS=[PATH]
クライアント・ライブラリのインストール
当サイトではPythonを前提しているので、Python環境へ以下でインストールします。
pip install --upgrade google-cloud-vision
ソースコード
#!/usr/bin/env python
import io
import os

# Imports the Google Cloud client library
from google.cloud import vision
from google.cloud.vision import types

# Instantiates a client
client = vision.ImageAnnotatorClient()

# The name of the image file to annotate
file_name = os.path.abspath('resources/wakeupcat.jpg')

# Loads the image into memory
with io.open(file_name, 'rb') as image_file:
    content = image_file.read()

image = types.Image(content=content)

# Performs label detection on the image file
response = client.label_detection(image=image)
labels = response.label_annotations

print('Labels:')
for label in labels:
    print(label.description)
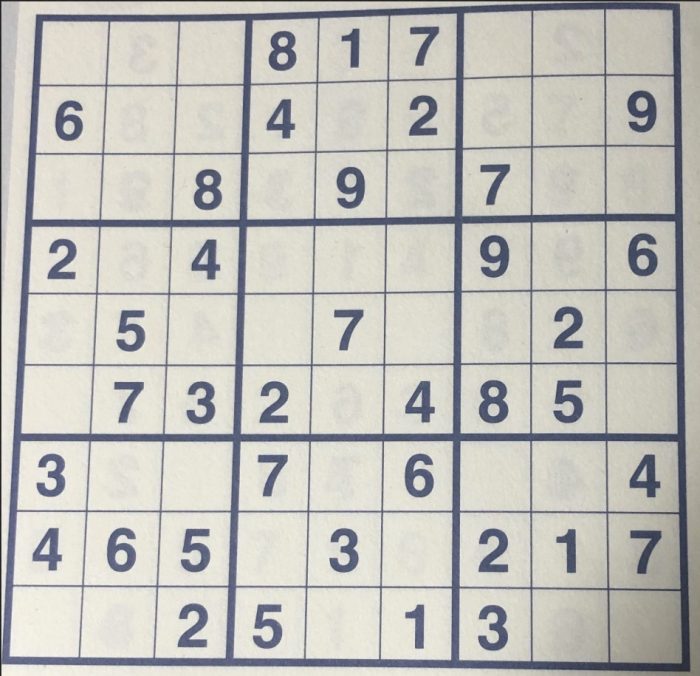
中程ファイル名の指定(file_name = os.path.abspath(‘resources/wakeupcat.jpg’))は、ご自身で用意したファイルに変更してください。
今回、使用した画像は以下の画像です。
実行
(numpre) MacBookPro:src $ ./google_vision.py
Labels:
Text
Number
Square
Parallel
Games
Crossword
(numpre) MacBookPro:src
いわゆるナンプレを読み取らせました。数字で四角に囲まれたパズルってことを考えると、まぁまぁいい線行ってそうですね。
OCRも試してみる
さてOCR、つまりtext_detection()を使ってみます。
ソースコード
先ほどのソースコードに以下を追記しました。本質的には最初の3行目までです。
import cv2 以降はOpenCVを使って画像に枠を描画させているだけですので、ご興味がなければ一旦無視して頂いて構いません。
# Performs text detection on the image file
response = client.text_detection(image=image)
print(response)


import cv2
import numpy as np

img = cv2.imread('images/01_input.png')

rects = []

for  text_annotations in response.text_annotations:
    pos = text_annotations.bounding_poly.vertices
    rect_points = np.array([
        [pos[0].x, pos[0].y],
        [pos[1].x, pos[1].y],
        [pos[2].x, pos[2].y],
        [pos[3].x, pos[3].y]
    ])
    rects.append(rect_points)

for i, rect in enumerate(rects):
    color = np.random.randint(0, 255, 3).tolist()
    cv2.drawContours(img, rects, i, color, 3)
    cv2.putText(img, str(i), (rect[0][0]+8, rect[0][1] + 32), cv2.FONT_HERSHEY_SIMPLEX, 1.2, (0,0,0), 3)


cv2.imwrite('images/04_img.png', img)
実行
(numpre) MacBookPro:src $ ./google_vision.py
text_annotations {
  locale: "und"
  description: "817\n6.\n8\n6.\n7 32\n485\n465\n217\n13\n3\n25\n79\n7.\n4+\n"
  bounding_poly {
    vertices {
      x: 77
      y: 44
    }
    vertices {
      x: 1659
      y: 44
    }
    vertices {
      x: 1659
      y: 1627
    }
    vertices {
      x: 77
      y: 1627
    }
  }
}
text_annotations {
  description: "817"
  bounding_poly {
    vertices {
      x: 664
      y: 60
    }
    vertices {
      x: 1091
      y: 44
    }
    vertices {
      x: 1095
      y: 167
    }
    vertices {
      x: 669
      y: 183
    }
  }
}
text_annotations {
  description: "6."
・・・以下省略
descriptionに読み取ったテキストが、それに続いてx,yの4セットの座標で位置が示されています。
ソースコードのところで触れましたが、OpenCVを使って描画させたのが次の画像です。
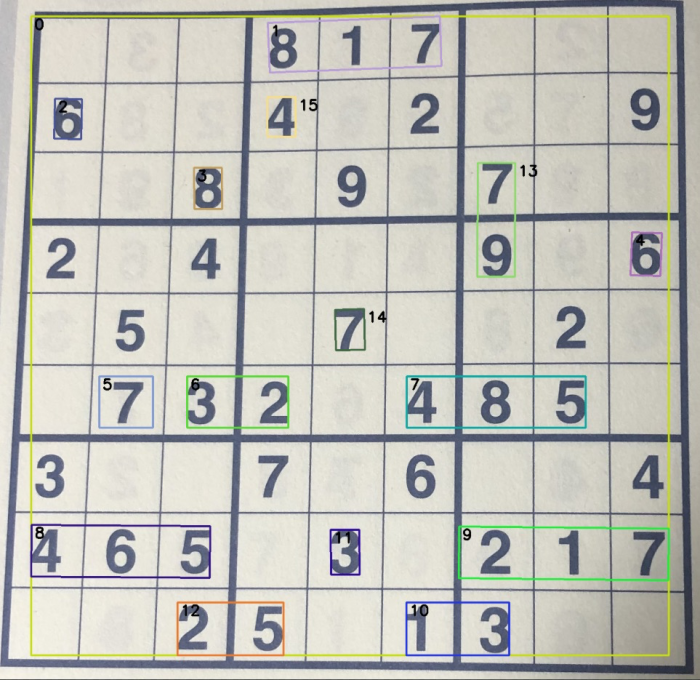
ご覧の通り、7-8割検出しているというところでしょうか。大事なのは正否は問わずということで、7-8割の中に正答率がかかるということになると・・・。
ちょっと当初の目論見に使えるかというと、厳しいかなと思われます。
まとめ
ということで、Vision APIがどんなモノか大まかに理解しました。使いました。経験しました。それ以上のことではなく、当初の目的に関しては別の道を模索したいと思います。
OpenCVについては、別途纏めて投稿したいと思います。
別の道については、こちらも追って投稿したいと思います。